Facebook Lookalike Audiences—How You Can Use Past Customer Data to Sell More!
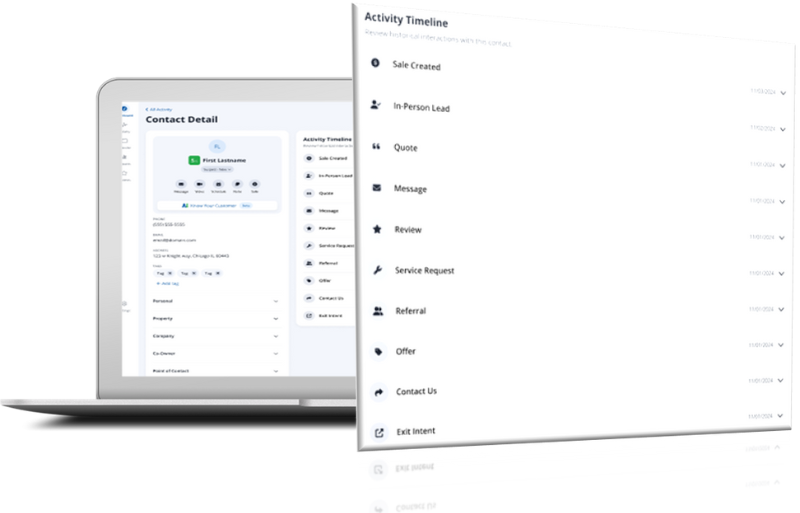
Having a Customer Relationship Management system (CRM) is clearly important for home service businesses. They help you gather lead information and keep track of where a customer is in your business processes—but they can be so much more. Hidden within your CRM is a whole gold mine of potential revenue.
Every time you add someone to your CRM, you collect data that can help you market to new people on Facebook through Lookalike Audiences. This tool can take your customer list and build an entirely new list based on the characteristics of your existing customers. Crazy, right?
Lookalike Audiences takes the guesswork out of advertising on Facebook. You don’t have to input interests or demographics—Facebook will find that info for you by mining your current customer list.
You already have the data. Make the most of it and get your services in front of the most qualified buyers! Here we break down how to get started with Lookalike Audiences using your CRM data.
1. Export the Data from Your CRM
Every CRM is going to have a different exporting process, but no matter which one your business uses, you have to keep in mind the quality of your data! To get the most out of Lookalike Audiences, you want your CRM to be well-maintained and well-organized. This means your team should keep all contact, dispositioning, and sales data up-to-date. The better you maintain your CRM, the better Facebook will be able to create a quality lookalike audience off of your customer list.
2. Upload It as a Custom Audience to Facebook’s Ad Manager
Facebook gives you several options for creating a custom audience, but here we’re going to focus on creating a custom audience based on a file upload. Facebook will ask you “How do you want to create this audience?” Choose “Customer file.” From there you have two choices: either upload a file or import from MailChimp. Choose the file option and upload the data you exported from your CRM (likely in CSV format). From there, choose the identifiers that make up the data in your file. This is just Facebook asking, “What type of data are you giving me?” At the minimum, you should have three identifiers:
- First Name
- Last Name
- Email address
Now it’s time to upload! This allows Facebook to match your customers to their profiles on Facebook. Because not everyone has a Facebook profile, not all contacts will upload, but Facebook will tell you how many of the contacts were a successful match.
3. Create and Customize Your Lookalike Preferences
After a successful upload, Facebook automatically gives you the option to set up your lookalike audience. As you set it up, you’ll have three customization options: source, country, and audience size.
The source will be the custom audience you just created, and the country should be the country you operate in (most likely the U.S.). For audience size, you’ll be given a scale of 1-10. The bigger the number you choose, the larger your audience is, but the less like your customer list they are. For example, if you choose “1,” then your lookalike audience is going to be smaller, but it’s going to most closely match your source list. If you choose “10,” then your audience is going to be large, but the audience will be less in-line with your customers. We recommend starting with 1 until you get a feel of how your ads are performing!
Now all you have to do is click “Create Audience” and wait for Facebook to tell you the list is ready. With your new lookalike audience, your Facebook advertising will be delivered to a set of more qualified buyers, allowing you to increase your conversion rates, lead volume, and ultimately revenue. Time to jump into that CRM!
Want more help with Facebook? Download our guide to Generating Leads on Facebook!
Tags
Facebook advertising lookalike audience targeting